[DIY] How to make a cryptex
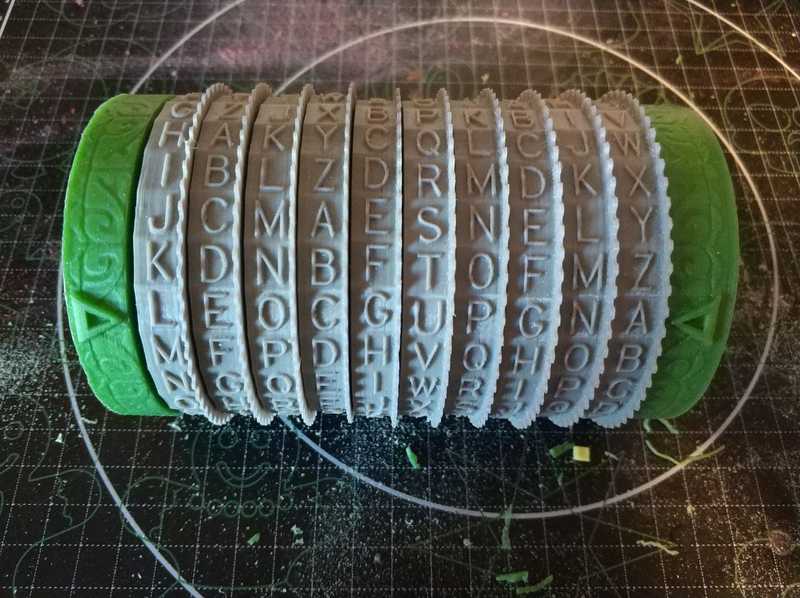
In my spare time I enjoy to start this kind of freak/crazy projects with my 3D printer. Particularly, I love to print locks in order to learn how they work. If I have time, I will try to post some other locks I printed, but by now, I prefer to write about my last project of this kind. During the last week I had some extra remote working days. That allowed me to start printing a cryptex.
What the hell is a cryptex?
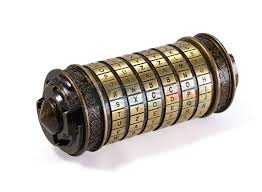
Probably most of you will know what is a cryptex, anyway, a cryptex is (more or less) popular locked cage which appeared in the film: "The Da Vinci Code" (2006), directed by Ron Howard. I tried to look for a bit of its history but i couldn't find anything more than the wikipedia page and, in this case, that wasn't so helpful...
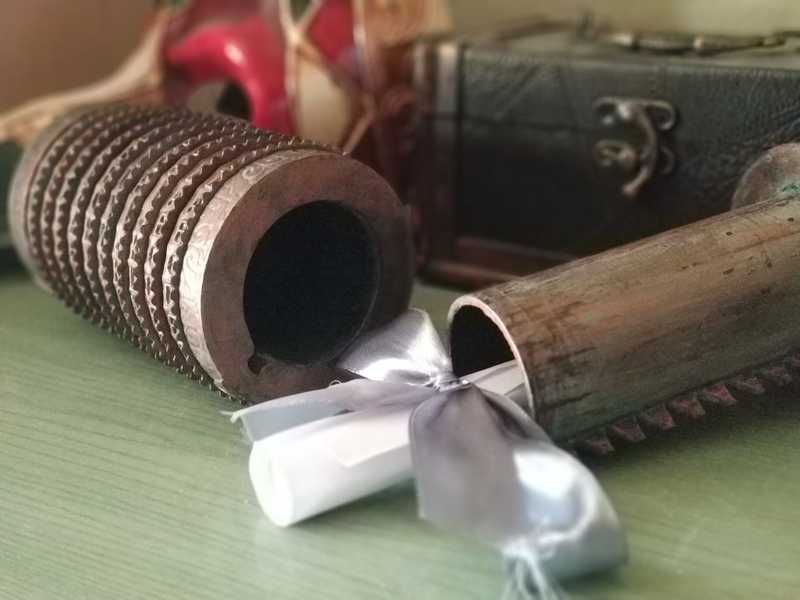
At the end, this device is some kind of box where you can protect your stuff with an alpha-numeric password. The mechanism of a cryptex is easy to understand and it works following the same principles as a regular door lock.
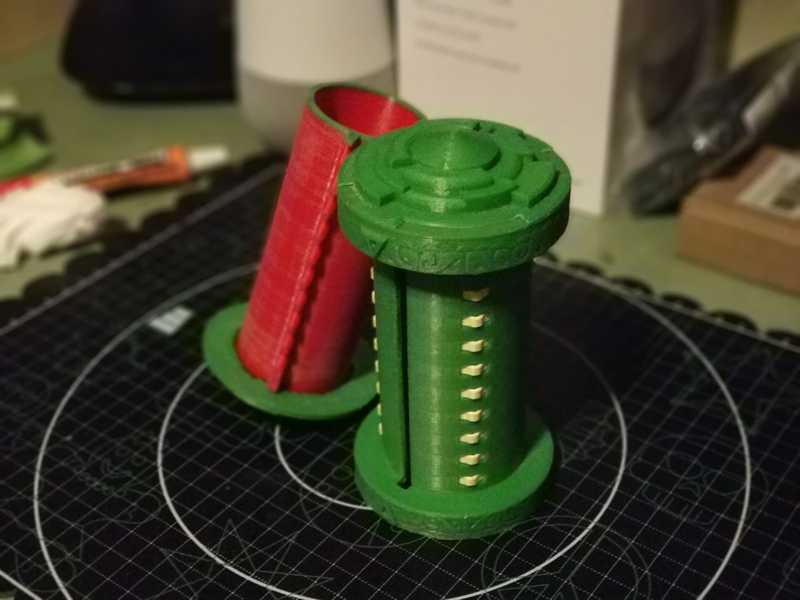
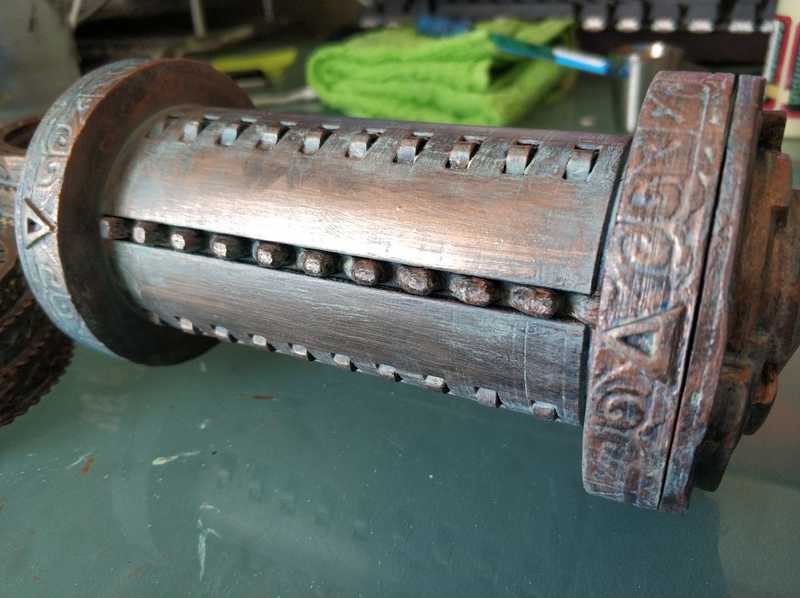
First, We have two cylinders, one goes inside the other. The external cylinder has a groove which cut vertically its face. The other one has several teeth (one for each password character) which fits the groove, this one is the place where our stuff is kept. Then, We have some gears, one for each character of the password. The gears are composed by two concentric rings. The external ring, where the characters are written, and the internal ring, where there is a gap in the position corresponding to the right character of the password. When the password of the cryptex is not the right one, the gears of the corresponding wrong character in the password will hold the teeth of the internal cylinder, keeping it locked. When We turn the gears to the right position they will release the corresponding teeth and there will compose a groove with all the gaps in the internal rings, releasing the entire internal cylinder of the cryptex.
Printing all the parts
I got the cryptex files from Thingiverse, a free repository of things ready to print. I really love this page, it has almost everything you need. I used the design from Mason Stonehenge.
The official summary has all the information, but I will try to tell my experience and how build it step by step. First of all, you will need:
- 10 Letter rings (External ring).
- 10 Letter encoder rings (Internal ring).
- 30 springs (It's used to stop the movement of the gears in each letter).
- 1 Outer core (External cylinder).
- 1 Inner core (Internal cylinder).
- 1 Retainer.
- Outer and inner decorators (The inner one its mandatory although the official summary).
I printed them with my Ender-3 Pro 3D printer. The designs are pretty accurate, they fit well without escalate any of them. Maybe, the inner core can be escalated to 99% of the original size, this will allow a better sliding when the inner core is opened. My settings for this project were:
- Infill: 80% (20% is enough)
- Temperature: 200 ºC
- Material: PLA
- Supports: No
- Resolution: 0.4mm
- Adherence: Raft (Only for the springs)
Time needed
- Gears: 10 hours.
- Springs: 2 hours.
- Cores: 12 hours.
- Decorations & Retainter: 5 hours.
Total: 29 hours.
I'm not counting the time spent in failures due to bad calibration of the bed. (Another 20 hours...)
Assembling
This was the challenging part. It took me 49 hours of printing all the parts but the assemblig were around 30 hours of sandding, cutting, painting and varnishing all the parts.
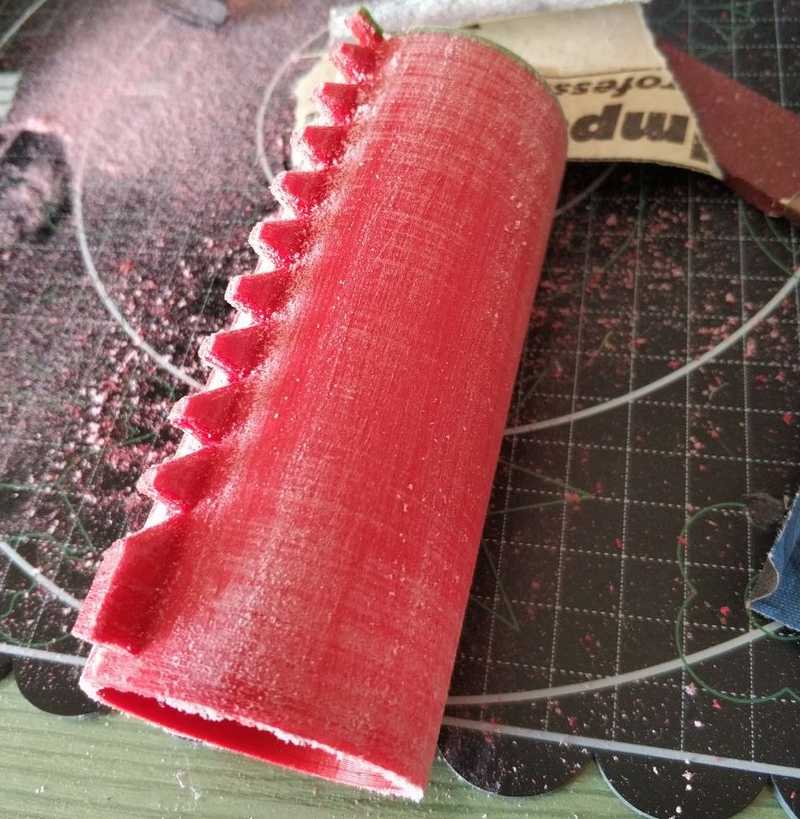
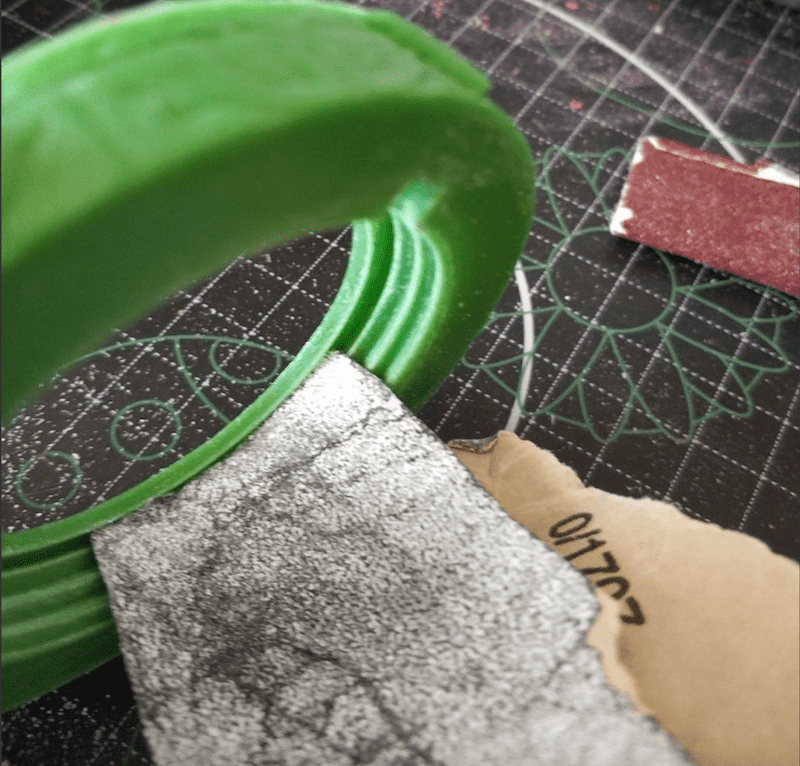
The first step to get a good quality printing is sanding the surfaces of all the pieces. There are another technics using some chemical products but I prefer this solution since i get a bit more control about what I'm doing.
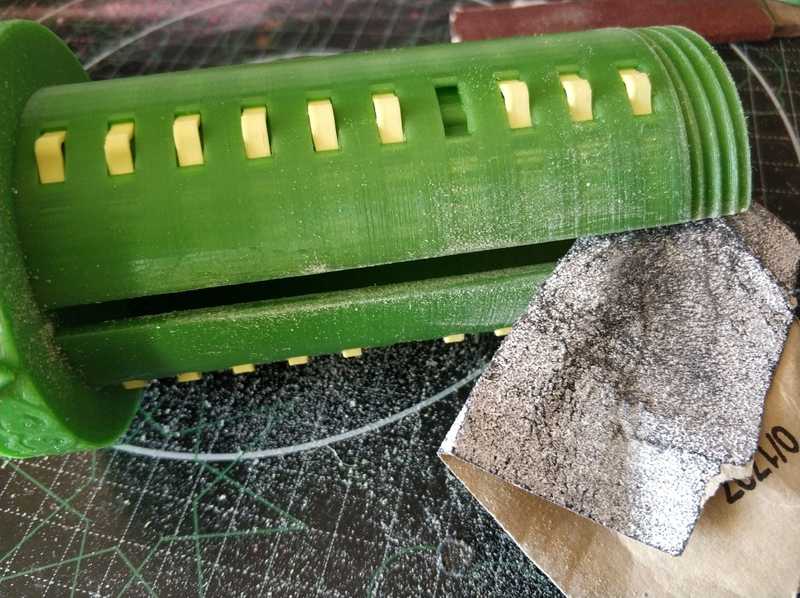
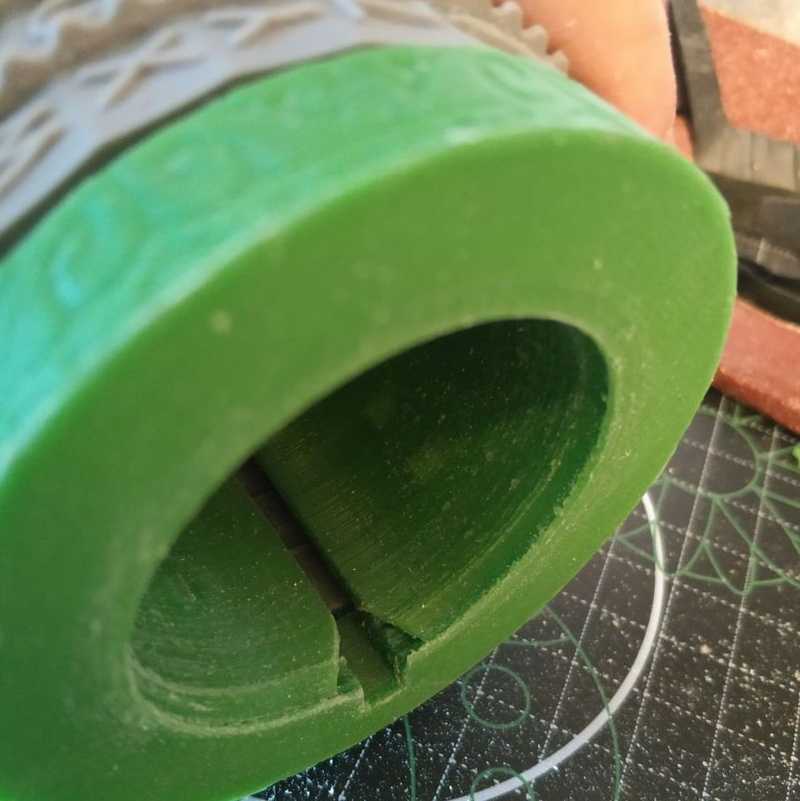
It's important to put an special effort sanding the screws, the external core rail and the internal core tube. Otherwise, the internal core will get locket inside of the external core. Other solution is to print the inner core escalated to 99%. This happens when the retainer and the gears are assembled, all the parts squeeze the external core, which reducts a bit its size (remember the rail where the teeth of the internal core are keep) locking the internal core.
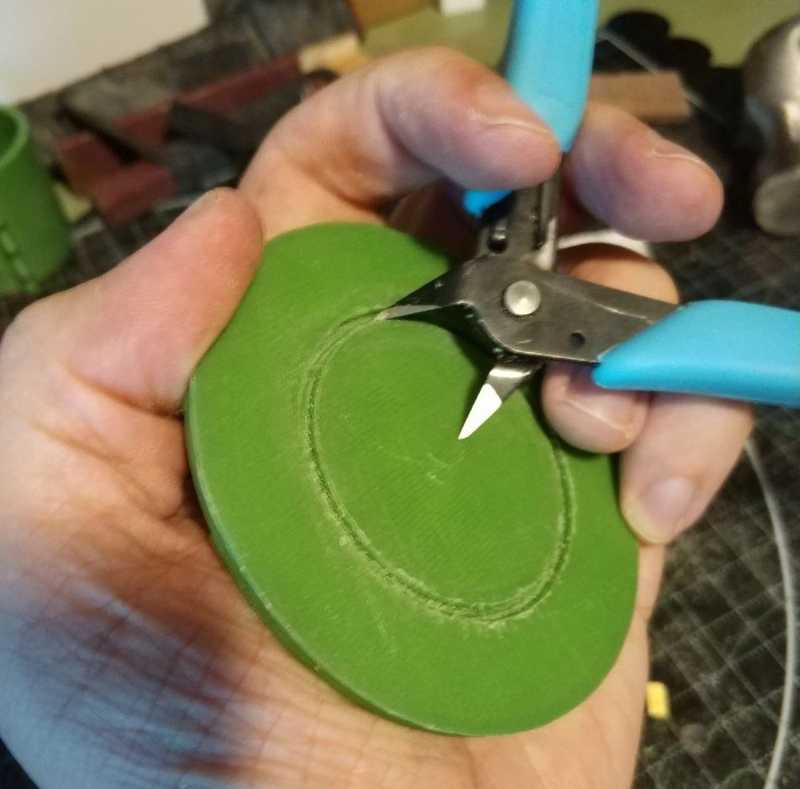
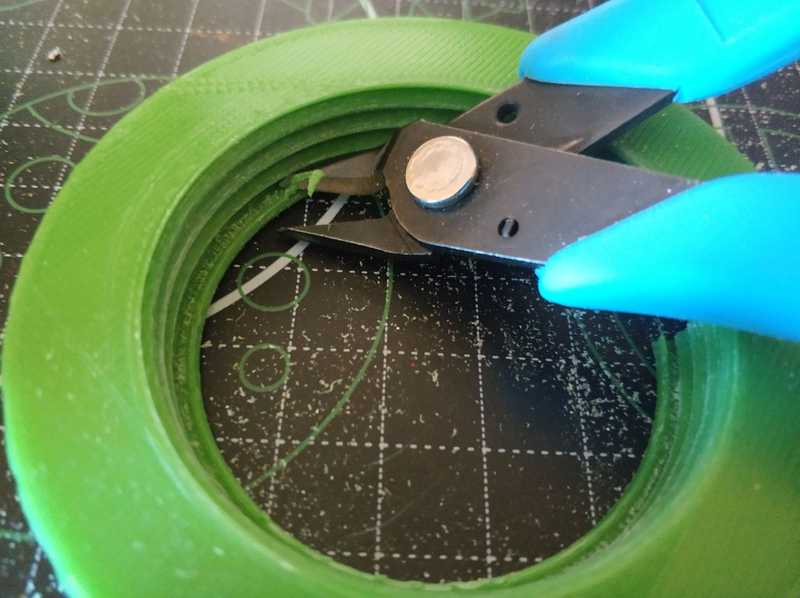
- My printer didn't print the rail where the inner core is joins the inner core decorator, so, I needed to carve it. At the end, I ended using my dremel. Then, i glued both parts.
- In the design, the retainer has an embellisher which keep the outer core when it is screwed. I remove it since it get broke after a couple of times testing the screw.
- Also, I cut the corners of the teeth rail in order to make easier closing the cryptex.
Introduce the steppers in the outer core holes, probably you will broke some of them doing it, so, printing more than 30 is recommendable.
Now, you should be able to assemble all the parts in a functional cryptex.
Painting
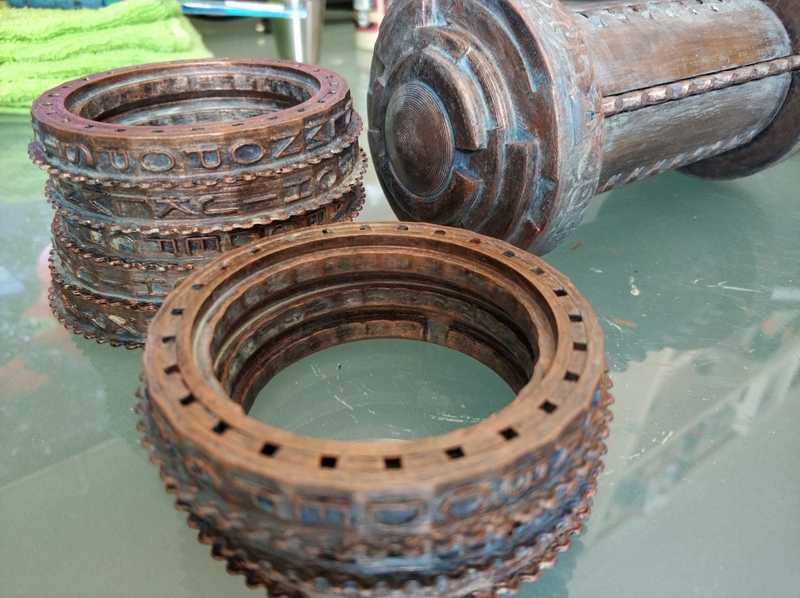
Once the cryptex is assembled is time to disassemble it and paint all the pieces. I don't recommend you to paint it assembled, the effect will not be the same. In this post, I will try to get an effect of aged copper, something like copper recovered from a sunk boat several years ago. First of all, you will need:
Black primer paint. Don't use a white one, the friction of the pieces will end revealing the base paint and a white one will break the effect.
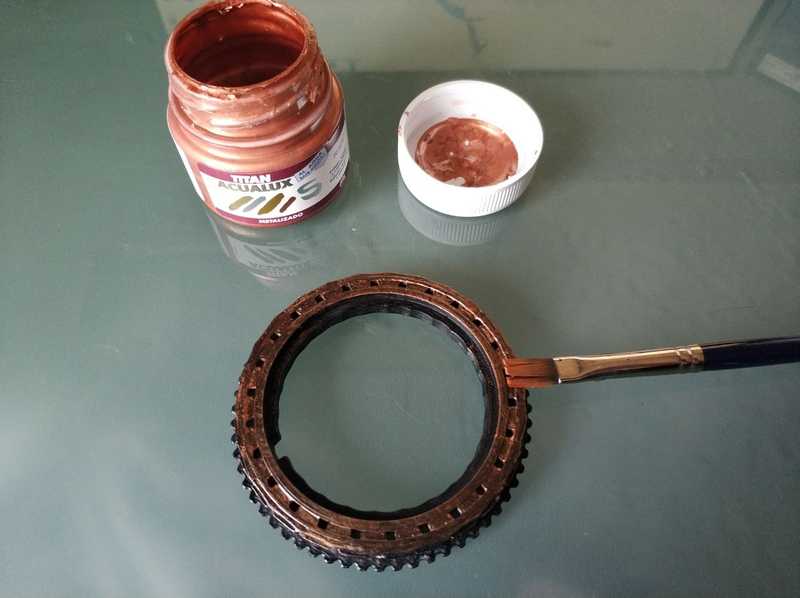
Copper acrylic paint. It will be our base color.
Blue acrylic dye. I used a Caribbean Blue tone.
Green acrylic dye. I used a Moss Green tone.
Matt varnish. Don't use a glossy varnish if you want to get an effect of aged copper.
Apply the black primer. I give it two layers of primer paint.
- Add one layer of copper paint. I decided to add only one since the traces of black paint was impressive.
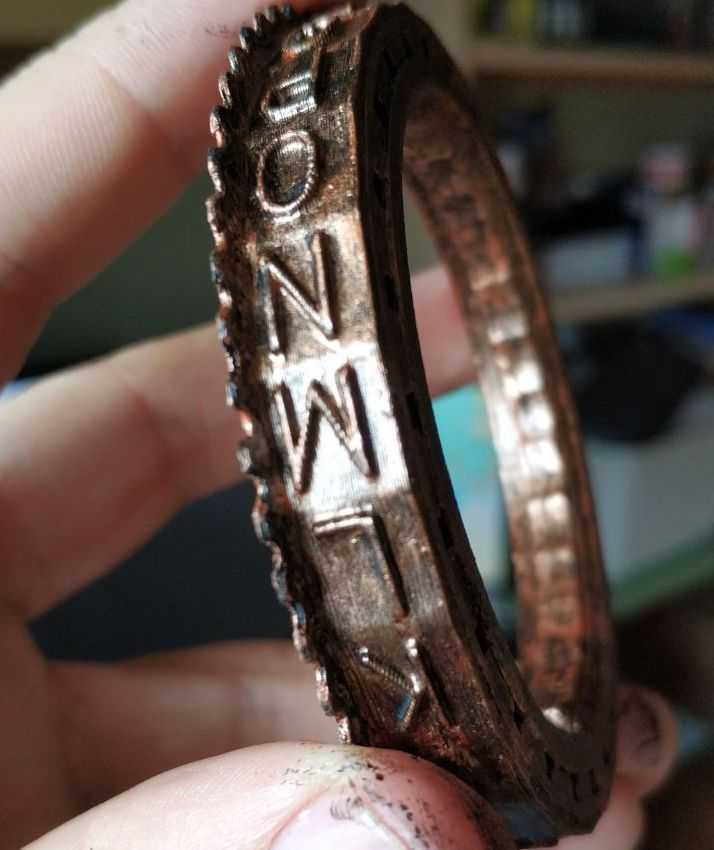
- Then you can add the dyes. Here, I give some examples. I chose to add one layer of blue dye and then another one of green one. Other option is to use a red one, this option can give the cryptex an effect of shiny copper which can be really awesome with a wooden effect painted in the decorators. When you apply a dye, you have to add a layer of the dye and then use a rag to remove the excess of paint.
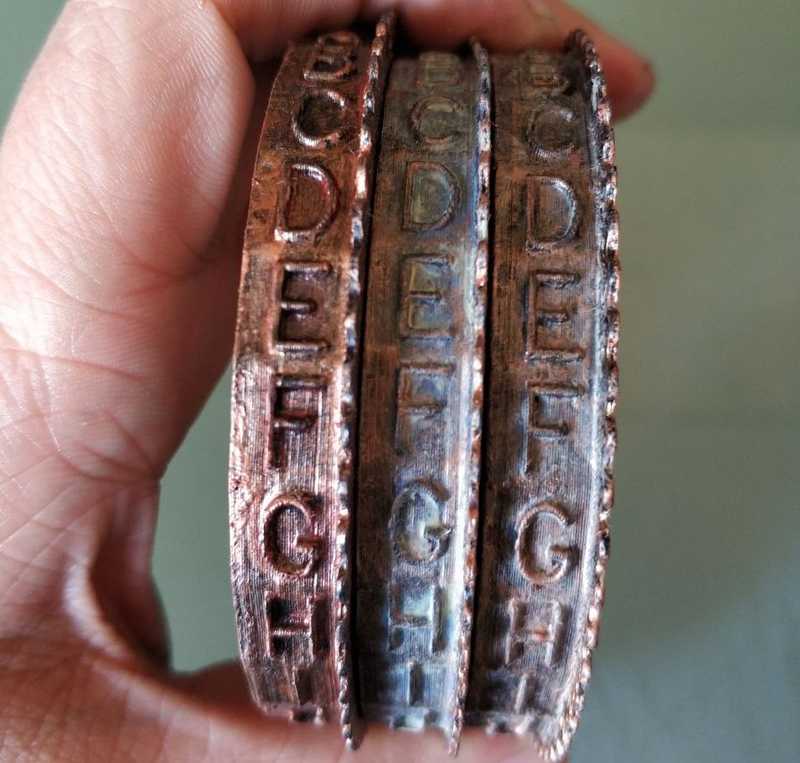 The first one is the red dye, the second one is a blue+green dye and the third one is a green dye.
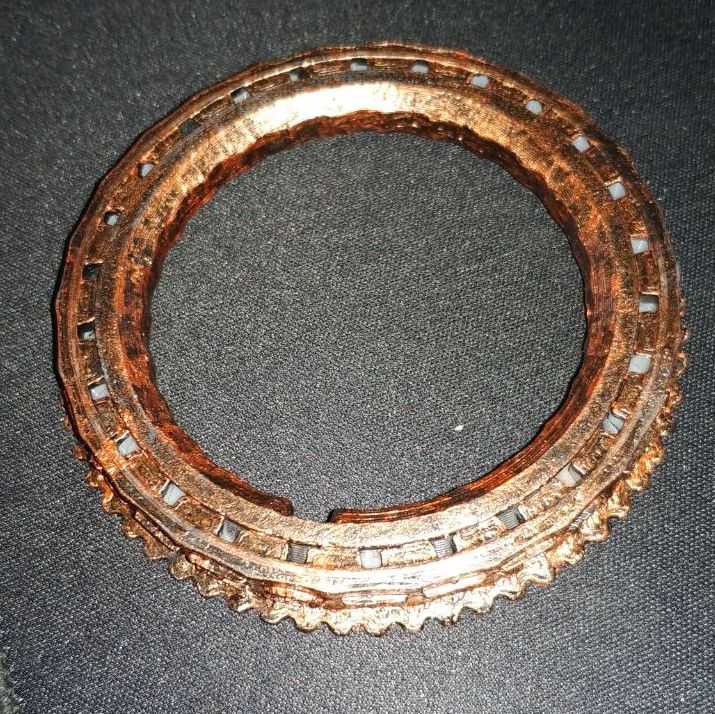
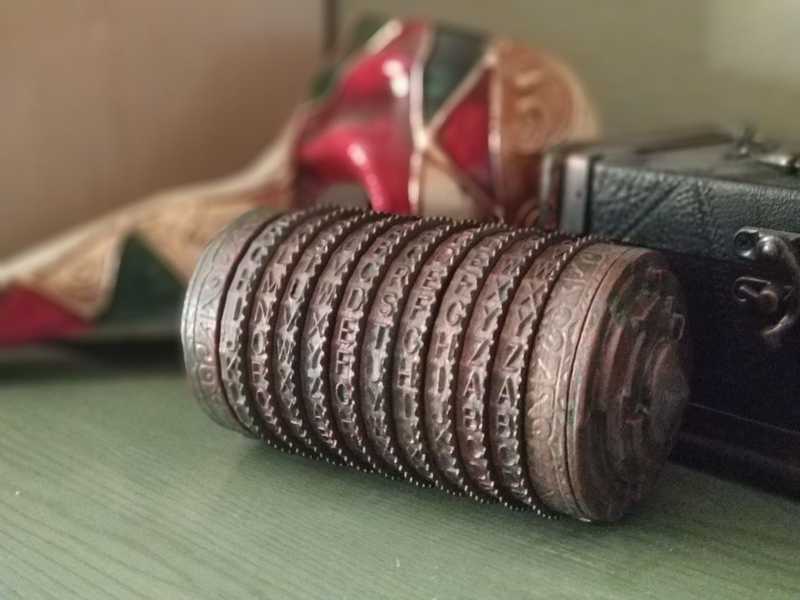
- Once all the parts are painted, you will get something like this:
- Then, varnish all the pieces with the matt varnish and enjoy your cryptex :)
Don't doubt asking me any question using the comments or my mail in the home page.
